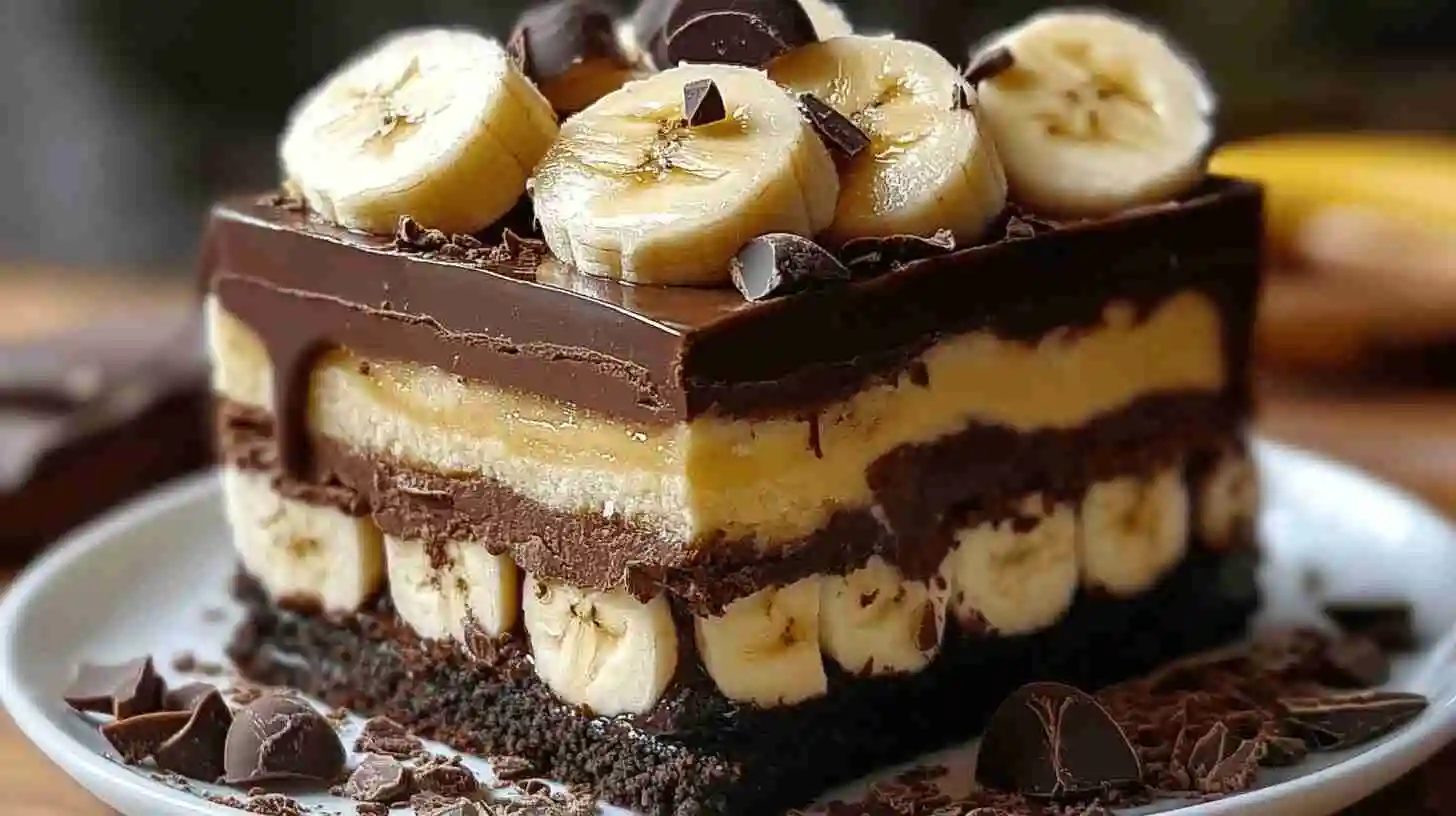
There’s something almost magical about pulling a tray of Homemade Red Velvet Brownies from the oven – that vibrant ruby color peeking through a crackly top, promising the perfect balance of chocolate richness and velvety texture beneath. These aren’t just any brownies; they’re a celebration in dessert form, bringing together the best of red velvet cake and fudgy brownies in one irresistible treat. Whether you’re baking for a special occasion or simply craving something that feels a little more special than your everyday dessert, these brownies deliver that bakery-quality experience right in your own kitchen, just like our Choco Banana Dream Layers, which bring together flavor and texture in a decadent fusion.
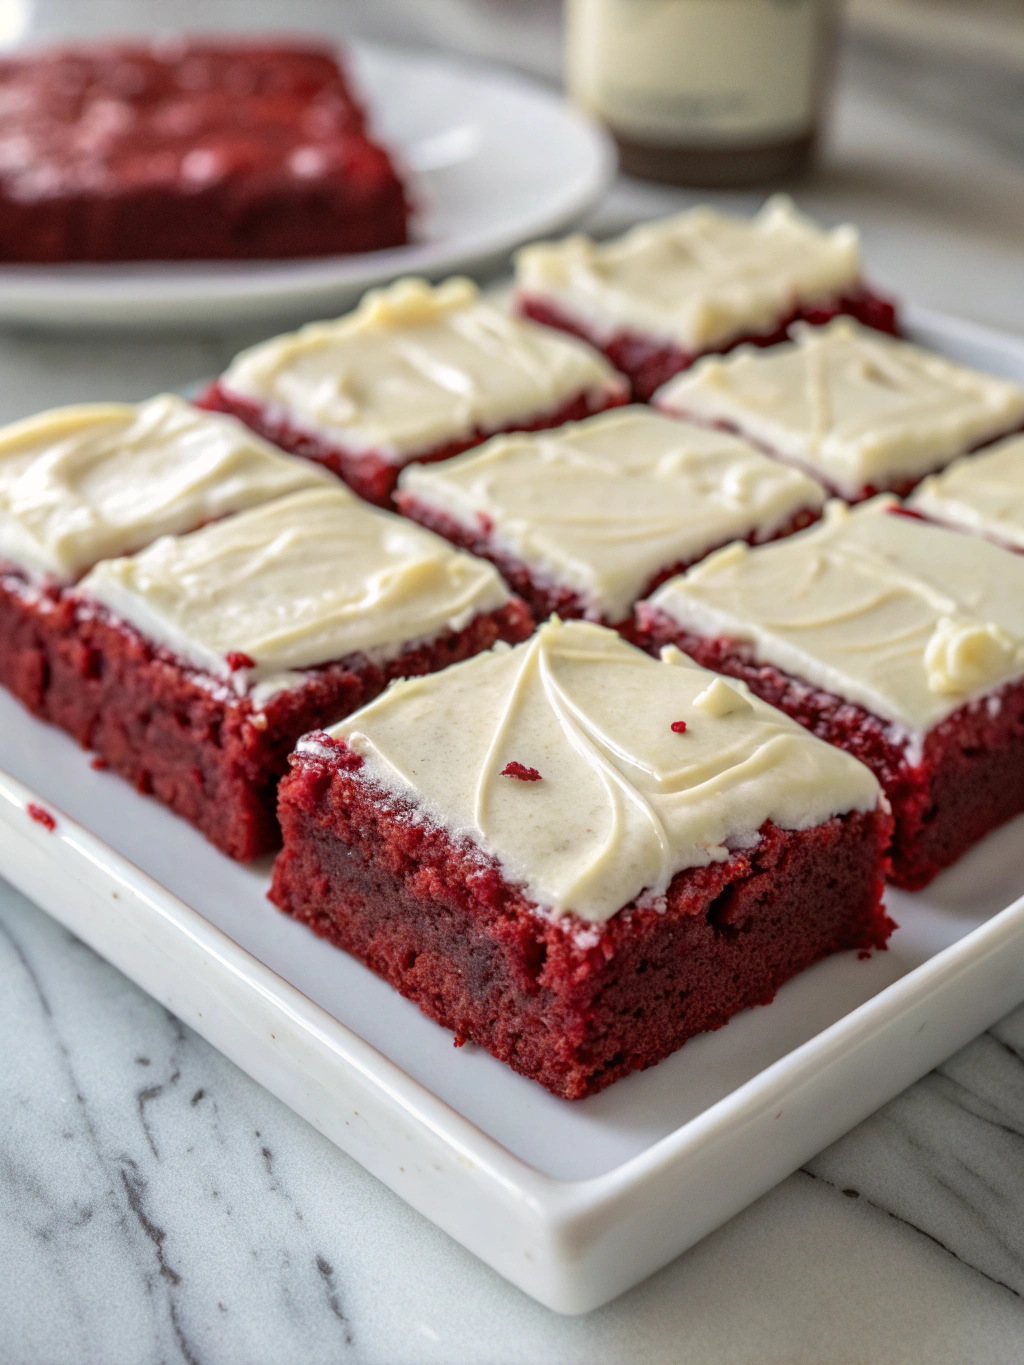
Table of Contents
Table of Contents
I’ve been perfecting these red velvet brownies homemade recipe for years now, and I’m thrilled to finally share it with you. What started as an experiment for my daughter’s Valentine’s Day school party has become one of our family’s most requested treats. The best part? Despite their impressive appearance, they’re surprisingly straightforward to make – perfect for busy parents, chocolate lovers, or anyone looking to add a touch of crimson elegance to their dessert rotation.
At YummyGet, every recipe comes from our kitchen one shared across three generations. I grew up beside my grandmother, learning how to transform simple ingredients into something special. Now, I cook with my daughter at my side, just as my grandmother once did with me. These red velvet brownies capture that blend of tradition and creativity they’re more than a recipe, they’re a memory in the making. My grandmother might never have made red velvet brownies specifically, but she taught me the patience needed for that perfect brownie texture, That same sense of nostalgia is what inspired desserts like our light and fruity Pineapple Fluff — sweet treats that connect generations.
Why You’ll Love These Homemade Red Velvet Brownies
- Stunning visual impact – their vibrant red color makes them perfect for holidays, birthdays, or anytime you want to impress
- Perfect texture balance – crisp tops with fudgy, tender centers that melt in your mouth
- Not overly sweet – the slight tanginess from buttermilk and cream cheese balances the chocolate perfectly
- Make-ahead friendly – these red velvet brownie homemade treats actually taste even better the next day as the flavors meld
- Versatile serving options – dress them up with ice cream for guests or pack them in lunchboxes for a special treat
- Foolproof recipe – even if you’re new to baking, my step-by-step instructions guarantee success
How to Make Homemade Red Velvet Brownies
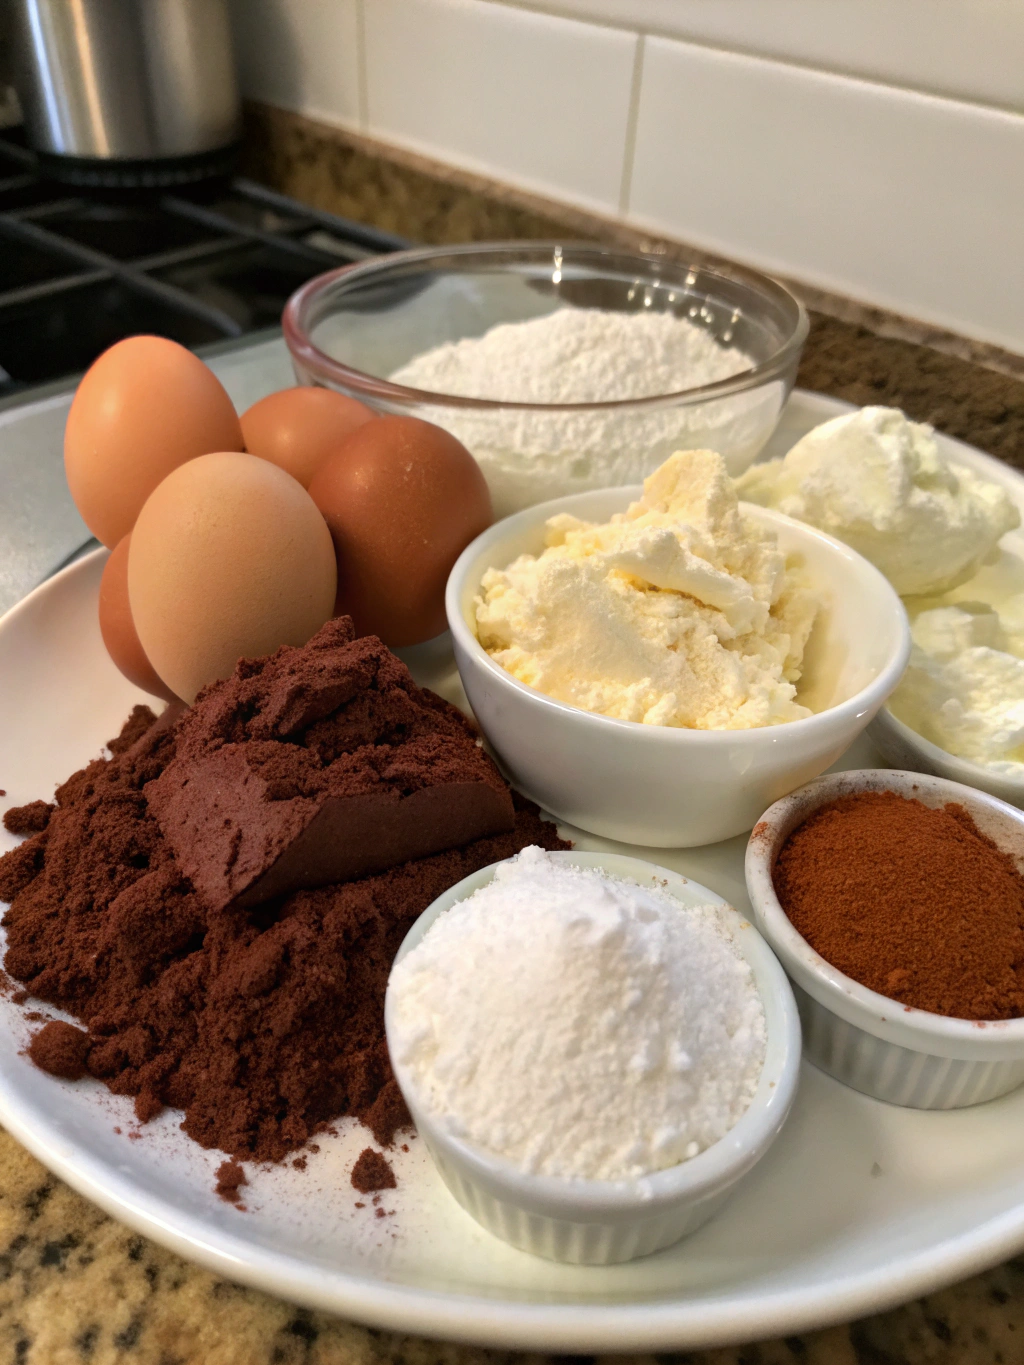
Ingredients:
- 1/2 cup (1 stick) unsalted butter, melted
- 1 cup granulated sugar
- 2 large eggs
- 1 teaspoon vanilla extract
- 1 tablespoon red food coloring
- 1/3 cup unsweetened cocoa powder
- 1/2 teaspoon salt
- 3/4 cup all-purpose flour
- 1/2 teaspoon white vinegar
- 1/2 cup white chocolate chips (optional)
- Powdered sugar for dusting (optional)
Instructions:
Preheat your oven to 350°F (175°C) and line an 8×8 inch baking pan with parchment paper.
In a mixing bowl, whisk together the melted butter and sugar until well combined.
Beat in the eggs, vanilla extract, and red food coloring until smooth.
Stir in the cocoa powder, salt, and flour until just combined; then mix in the vinegar.
Fold in white chocolate chips if using, then spread the batter evenly in the prepared pan.
Bake for 25–30 minutes or until a toothpick inserted comes out with a few moist crumbs. Let cool before cutting. Dust with powdered sugar if desired.
For more recipe follow me en Facebook and Pinteres
Pro Tips for Success
When making these brownies, I always make sure all my ingredients are at room temperature before starting. Cold eggs or cream cheese can cause the batter to seize or become lumpy.
For the deepest red color without an artificial taste, I combine regular food coloring with a bit of gel coloring. The gel gives intense color without adding too much liquid to the batter.
What I usually do for clean-cut brownies is to refrigerate them for at least an hour after they’ve cooled completely, then use a warm knife (run it under hot water and wipe dry) to slice them.
For extra decadence, try sprinkling a few white chocolate chips on top of the batter before baking – they create little pockets of sweetness that contrast beautifully with the tangy cream cheese.
Variations & Substitutions
- White Chocolate Red Velvet: Add 1/3 cup white chocolate chips to the batter for pops of sweetness
- Gluten-Free Option: Substitute the all-purpose flour with a 1:1 gluten-free baking blend
- Less Red Coloring: Reduce the food coloring to 1-2 teaspoons if you prefer a more subtle hue
- Cream Cheese-Stuffed: Instead of swirling, create a complete middle layer of cream cheese filling
- Nutty Version: Add 1/2 cup chopped pecans or walnuts to the batter for texture contrast
- Mint Chocolate: Add 1/4 teaspoon mint extract to the cream cheese mixture for a fresh twist
What to Serve With It
These rich, indulgent brownies pair beautifully with:
- A scoop of vanilla bean ice cream (the cold creaminess against the fudgy brownie is heavenly)
- Fresh berries, especially strawberries or raspberries, which complement the red color
- A drizzle of warm chocolate sauce for chocolate lovers
- A creamy chilled dessert like Pineapple Fluff for a summer-perfect combo
- Strong coffee or espresso to balance the sweetness
- A glass of cold milk – sometimes the classics are best!
- Hot chocolate with whipped cream for an extra-indulgent dessert experience
Storage & Make-Ahead Tips
These brownies actually improve with a little time! The flavors deepen and the texture becomes even more fudgy. Store them in an airtight container at room temperature for up to 3 days, or in the refrigerator for up to a week.
For longer storage, these freeze beautifully. I cut them into individual squares, wrap each one in plastic wrap, then place them in a freezer bag. They’ll keep for up to 3 months. Thaw at room temperature or microwave for 15-20 seconds for a quick treat.
If you’re planning for a party, you can make these up to 2 days ahead. The make-ahead time actually works in your favor – the flavors will have time to develop, and you’ll have one less thing to prepare on the day of your event.
For more recipe follow me en Facebook and Pinteres
FAQs About Homemade Red Velvet Brownies
What are red velvet brownies made of?
Red velvet brownies combine classic brownie ingredients (chocolate, butter, sugar, eggs, flour) with elements that give red velvet its distinctive character: a moderate amount of cocoa powder, red food coloring, a hint of acidity from vinegar, and usually a cream cheese component either swirled in or as frosting. The result is a brownie that’s both chocolatey and tangy, with that iconic crimson color.
What is the actual flavor of red velvet cake?
Red velvet has a unique flavor profile that’s often misunderstood. It’s primarily a mild chocolate flavor (using less cocoa than a traditional chocolate cake), with subtle notes of vanilla and a slight tanginess from buttermilk and vinegar. This tanginess is what distinguishes red velvet from regular chocolate cake – it’s not just about the color, but that perfect balance of sweet, chocolatey, and slightly tangy notes.
Is red velvet just chocolate?
No, red velvet is not just chocolate with red coloring, though that’s a common misconception. Traditional red velvet recipes use a small amount of cocoa powder (typically 2-3 tablespoons rather than the 1/2-3/4 cup in chocolate cake), along with buttermilk and vinegar which react with the cocoa to create both a more reddish hue (enhanced with food coloring) and a distinctive tangy flavor profile that regular chocolate desserts don’t have.
What makes red velvet brownies different from regular brownies?
Red velvet brownies stand apart from regular brownies in several ways: they contain less cocoa powder for a milder chocolate flavor, incorporate acidic ingredients like vinegar or buttermilk for that signature tanginess, include red food coloring for their vibrant appearance, and almost always feature cream cheese either swirled in or as frosting. The result is a brownie that’s less intensely chocolatey but more complex in flavor, with a stunning visual appeal.
Final Thoughts
There’s something about these Homemade Red Velvet Brownies that goes beyond just being a delicious dessert. Maybe it’s the way they transform simple ingredients into something that looks so special, or how their ruby color seems to signal that this isn’t just an everyday treat – it’s a celebration. Whenever I make these for family gatherings, they’re always the first dessert to disappear, with everyone asking for the recipe.
What I love most is watching someone take their first bite – that moment of surprise when they realize these aren’t just beautiful, they’re absolutely delicious too. The contrast between the fudgy brownie and tangy cream cheese creates a perfect harmony – a pairing as delightful as chocolate and banana in our Choco Banana Dream Layers.
If you’re looking for a dessert that combines dramatic presentation with truly satisfying flavor, these red velvet brownies deliver on both promises. They’ve become our family’s way of saying “this day matters” – whether it’s a holiday, a good report card, or simply making it through a challenging week.
Tried these Homemade Red Velvet Brownies? Share your version in the comments – we love seeing your creations! And don’t forget to tag us if you share them on social media. Nothing makes me happier than seeing these recipes come to life in your kitchens.







Leave a Reply