Beef back ribs have been my family’s weekend tradition for as long as I can remember. My grandmother taught me how to prepare these succulent beef back ribs when I was just a teenager, standing on a stool in her kitchen. The rich aroma of slow-cooked beef, the anticipation as the meat becomes fork-tender, and the joy on my daughter’s face when she tastes that first bite – these moments make all the effort worthwhile. Today, I’m sharing our treasured method that brings three generations together around the table.
Table of Contents
Table of Contents
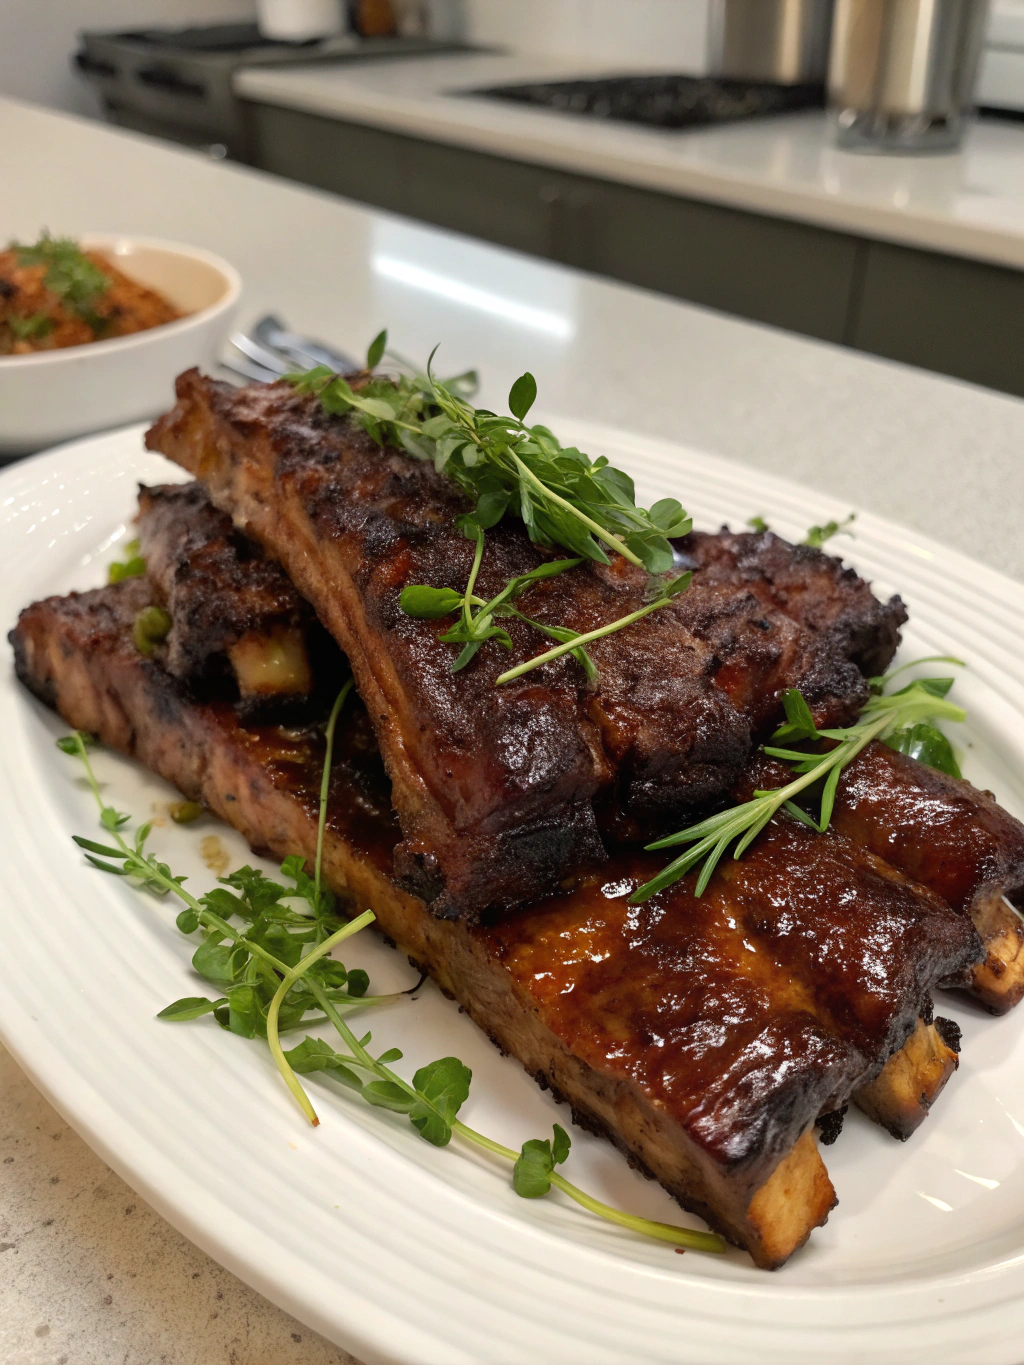
What Makes Beef Back Ribs So Special
Beef back ribs come from the upper back of the cow, the same area that gives us prime rib roasts. They’re meatier than short ribs but require patience to transform from tough to tantalizingly tender. My grandmother always said that “the secret to perfect beef back ribs isn’t in fancy ingredients but in respecting the cooking time.” She would gently remind me that rushing this cut is the surest way to disappointment. Even now, when my daughter gets impatient waiting for dinner, I pass along this same wisdom – some things simply can’t be hurried.
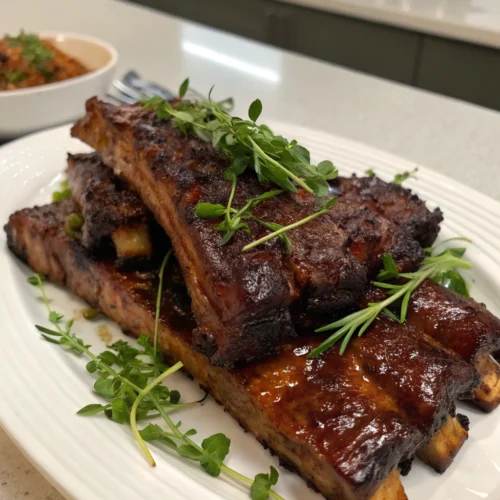
Tender Oven-Baked Beef Back Ribs
Equipment
- Oven
- Foil
- Grill
- Baking Sheet
- Small bowl
- Knife
Ingredients
Beef Back Ribs
- 2 racks beef back ribs membrane removed
Dry Rub
- 2 tbsp brown sugar
- 1 tbsp kosher salt
- 1 tbsp paprika smoked or sweet
- 1 tsp black pepper freshly ground
- 1 tsp garlic powder
- 1 tsp onion powder
- 1/2 tsp chili powder
- 1/4 tsp cayenne pepper optional, for heat
Cooking
- 1/2 cup apple juice
Instructions
- Preheat oven to 275°F (135°C)
- Remove the membrane from the bone side of the ribs and pat dry with paper towels
- In a small bowl, combine brown sugar, salt, paprika, pepper, garlic powder, onion powder, chili powder, and cayenne pepper
- Rub the spice mixture evenly over both sides of the ribs
- Place ribs on a large sheet of foil, add a splash of apple juice, and wrap tightly to form a sealed packet
- Place foil-wrapped ribs on a baking sheet and bake for 3 hours
- Carefully remove from oven, unwrap ribs, and discard any excess liquid
- Optional: Finish ribs on a preheated grill for 5-10 minutes to develop a slight char
- Let the ribs rest for 10 minutes before slicing and serving
Notes
Preparing Beef Back Ribs for Maximum Flavor
The preparation stage is crucial for developing deep flavor in your beef back ribs. I like to start with a dry rub that balances sweetness, saltiness, and a touch of heat. Something I always do with my daughter is let her help mix the spice rub – it’s become our special bonding time in the kitchen. She loves measuring and mixing, and I love how she’s learning the same techniques my grandmother taught me.
While beef back ribs are magnificent on their own, their flavors also work beautifully in other dishes. If you enjoy Italian cuisine, you might appreciate how the tender beef from these ribs can be shredded and incorporated into a hearty italian beef recipe for sandwiches the next day. The depth of flavor from the slow-cooked ribs adds an incredible richness that can transform even the simplest Italian beef dish into something extraordinary.
Ingredients
Good beef back ribs don’t need an extensive ingredient list – just a few quality items that enhance their natural flavor. I always source my ribs from our local butcher who knows exactly how I like them cut. The spices in our family recipe have remained consistent through three generations, with just a few modern additions I’ve incorporated over the years.
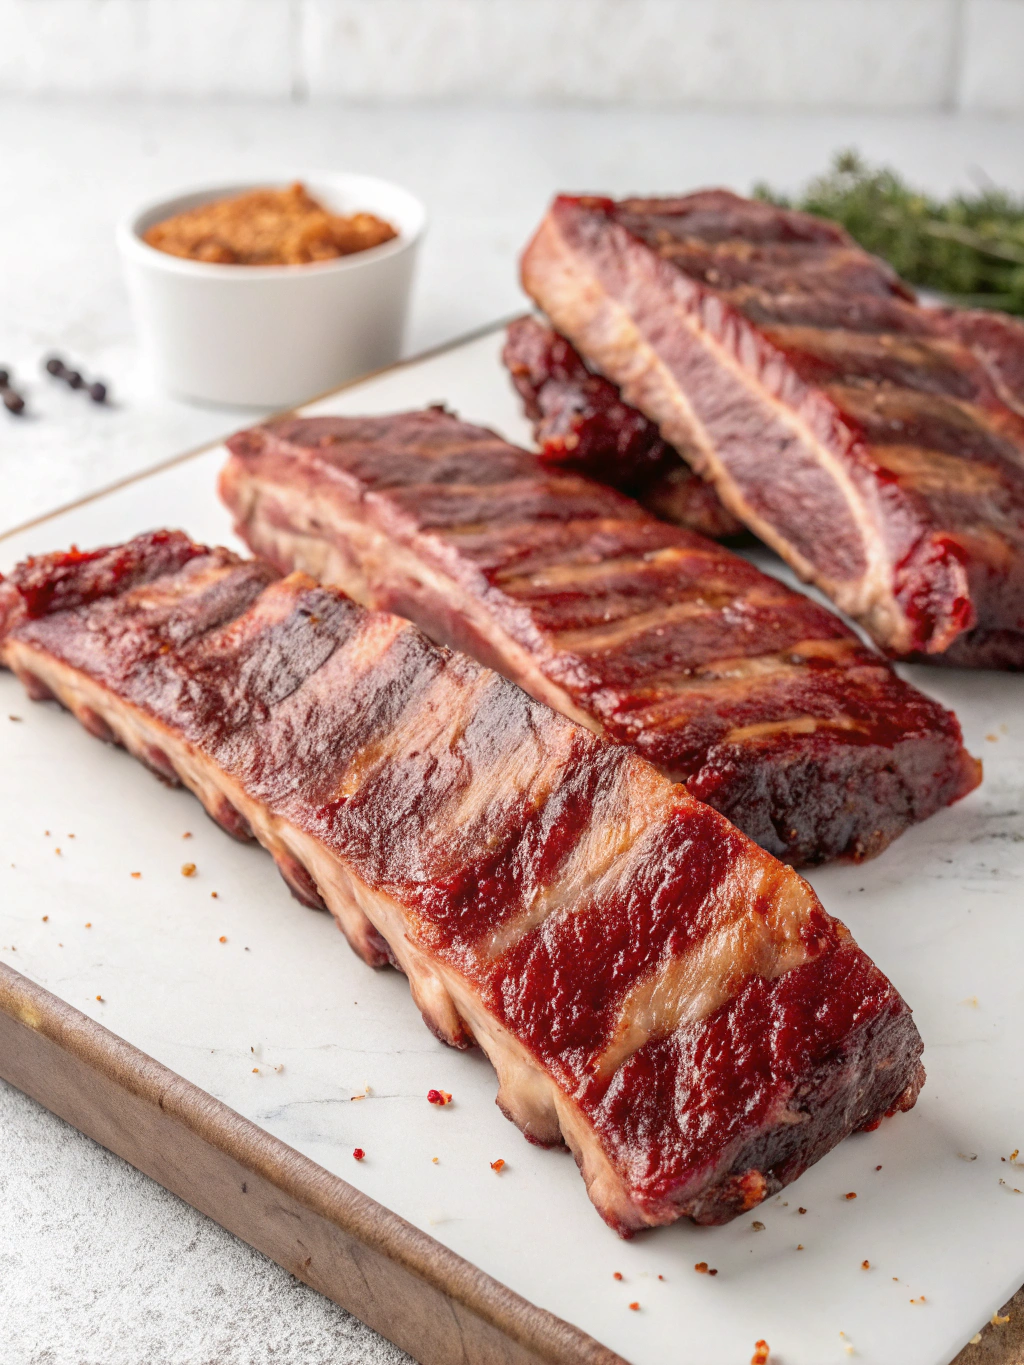
Preparation
The beauty of cooking beef back ribs lies in the transformation that occurs over low, slow heat. I start by removing the thin membrane from the bone side – a trick my grandmother insisted on for that melt-in-your-mouth texture. My daughter calls this part “the magic peel,” and now she’s the official membrane remover in our kitchen. After applying our family’s dry rub, the ribs need time for the flavors to penetrate before they ever meet heat.
The Perfect Cooking Method for Beef Back Ribs
There are several ways to cook beef back ribs, but our family favorite combines oven baking with a final grill finish. Here’s a trick we use at home: we wrap the ribs tightly in foil with a splash of apple juice for the first few hours of cooking. This creates a steamy environment that helps break down tough connective tissues without drying out the meat. When my grandmother first showed me this technique, I was skeptical – but the results speak for themselves. The meat becomes so tender it practically slides off the bone.
Serving Suggestions and Pairings
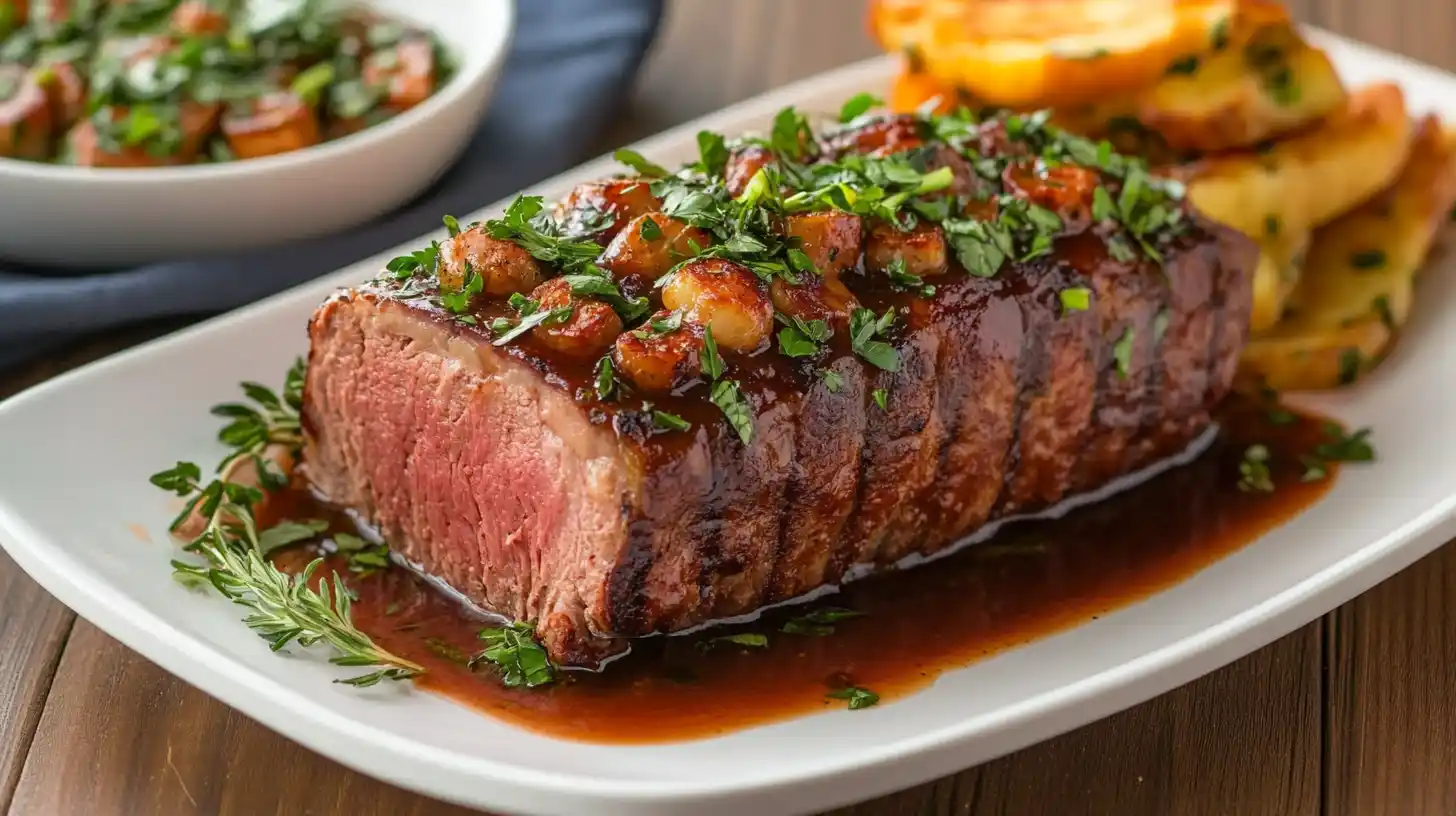
Beef back ribs deserve sides that complement without overwhelming their rich flavor. In our home, we keep it simple with roasted potatoes seasoned with rosemary and garlic, plus a crisp green salad dressed lightly with vinaigrette. My daughter’s contribution to our rib dinners is always dessert – usually her version of my grandmother’s apple crisp, which provides the perfect sweet ending to a savory meal.
Storing and Reheating Leftover Beef Back Ribs
On the rare occasions we have leftover beef back ribs, they actually taste even better the next day. Store them in an airtight container in the refrigerator for up to three days. To reheat, I place them in a covered baking dish with a splash of beef broth at 275°F until warmed through – about 20 minutes. This gentle reheating prevents the meat from drying out and preserves that tender texture we worked so hard to achieve.
For more recipe follow me en Facebook and Pinterest
Conclusion
These beef back ribs represent more than just a delicious meal in our home – they’re a living connection between generations. When I see my grandmother nodding with approval as my daughter carefully applies the spice rub, I know we’re preserving something precious. Food brings us together, creates memories, and carries forward traditions that might otherwise be lost. I hope this recipe brings the same joy to your family table that it continues to bring to ours.







Leave a Reply